Some of the features we’re covering are:
Custom login with Xano
Like button
Map
In-app purchase
Requirements
Figma account (free)
Xano account (free)
Bravo Olé plan + Business app (218€/month)
RevenueCat account (free)
Apple developer account (99€/year)
Some knowledge about APIs and database relationships
The design
First of all let’s have a look at the design: https://www.figma.com/community/file/1217435722039388173
You can see the design is fully bravorized with containers and Bravo tags, the navigation is set up and the layers that will be bound to real data contain an asterisk (a little trick we do to speed up binding process later). Feel free to explore the design and learn how it’s been built.
For example, check out the Paywall screen. The CTA layer contains the tag [action:purchase:full] which allows the user to trigger the purchase action of the “full” subscription. Inside it, we have a text layer with [price:full] and {price} within the text, which shows the app user the corresponding price of the subscription.
Let’s duplicate the design and make it of your own.
In Figma, duplicate this design file to your account
In your duplicated file, click Share, then Copy link. Make sure the permission for "Anyone with the link" is can view.
In Bravo Studio, go to Create a new app
Paste the link from step 2 into the input field. Click Connect Bravorized Figma file
Once the app is successfully created you will see the app screens imported from your design
Make sure your account plan is Olé and you have upgraded to Business app in order to follow the tutorial successfully
The backend
For the database and API we are using Xano, one of the best no-code tools that you can connect to Bravo and launch a complete backend in minutes.
💡 Bravo users enjoy a 10% discount on any Xano's packages if you get in touch with us to claim your discount.
One of the coolest features of Xano are snippets. Snippets allow you to clone a complete backend to your own account with just a click, including database entities, data records and API endpoints. We have a complete backend already set up for this tutorial! Awesome, right?
Open this snippet: https://www.xano.com/snippet/jGM9SoAy
Click on “Add to your Xano account”
Login and add it to your Xano instance
From your Workspace, open the Marketplace tab and select the Purchased section
Once selected, you can review the Snippet and click to install it to your Workspace
If you have any trouble, check out the full docs on how to add a snippet
The database consists of six tables:
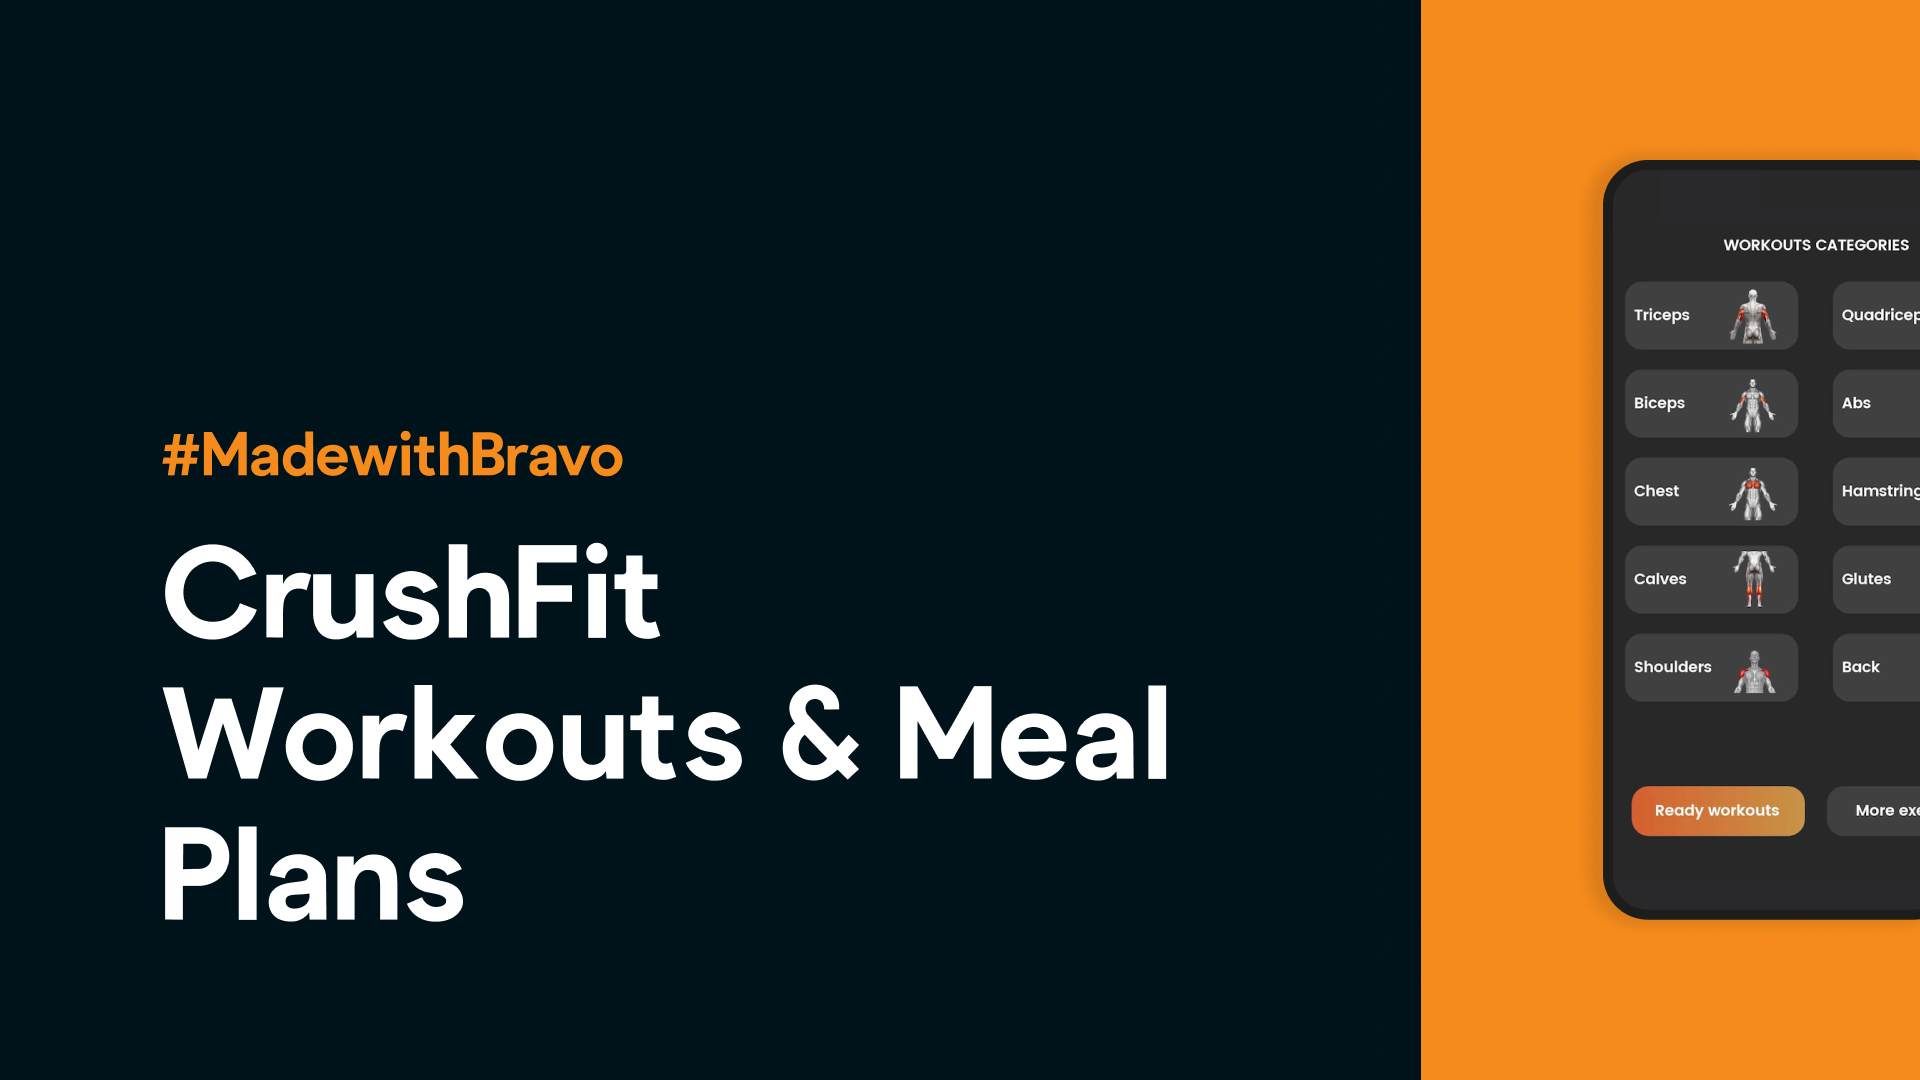
Fitness_workout
Fitness_workout_category
Fitness_user
Fitness_user_recipe
Fitness_recipe
Fitness_spot
These tables already contain data records for your convenience. For example, Fitness_workout contains the list of workouts with title, description, video url and other fields. This table is connected to Firtness_workout_category by category_id. Feel free to checkout the rest of tables and how they relate to each other.
💡 If you are not familiar with database relationships, you can learn the basics with this tutorial from Xano.
Now let’s take a look to the API endpoints.
Open the API tab from the left menu
Click on Fitness Use Case
You will see a bunch of API endpoints grouped by name. Some of them include custom filters and rules. For example, open /fitness_workout_featured. The endpoint queries all workouts where isFeatured is true and isPremium is false.
Please note that authentication is required for all endpoints (except /auth/signup and /auth/login), which means that the request must include the auth token in the headers for it to run successfully. We'll go over this later, but for now this will give you a sense of the power of Xano 🔥.
Set up custom login with Xano
Now that we have our design connected to our Bravo app and the backend is ready, we can proceed with connecting both by configuring app authentication.
Bravo Studio supports different methods for authenticate users into your app: OAuth 2.0, Firebase login and Custom Authentication. The latter is the method we will use to configure Xano.
Since our Xano Snippet already has the necessary endpoints, we’ll go to Bravo and connect them to our app. If you want to set it up from scratch, learn how to set up Xano as your user authentication backend.
In Bravo, go to API Collections → Create a new collection
Select Xano Wizard
Go to your account in Xano and copy Your Private Developer API Key
Go back to Bravo and paste the API Key in the input field
Click Continue
Select the instance that contains the cloned snippet and Continue
Select the Fitness Use Case API group and Continue
Now you’ll see the list of endpoints. Click Select all and Continue
🎉 Congrats! You have imported the API endpoints to Bravo.
Now we’ll need to do some important tweaks to finalise the set up.
Select the request named Auth · Login
Select Test Values tab
For email, set test@test.com as value
For password, set 12345678
Press Send
Go to Selected Data tab and change the Variable Name from “authtoken” to accessToken
Go to Received Data tab and copy the value of the token (a long string usually starting by “ey”)
Click on to the wheel icon nearby the API Collection name
Go to Authentication tab and select Bearer
Paste the copied token in the Token field and click Save
Now all of the requests sent on this screen are authenticated. If in the future the auth token expires, you’ll need to repeat the steps 5 to 10.
Auth tags
Let’s review how the login screen is bravorized. First of all, it has a [page:login] tag in the top-level frame and a [post-login:action] tag that we’ll cover later.
We also have two textfields with form tags: [component:input-email] and [component:input-password]. To submit the form we have a stateful component with two states: default and pressed. The first has the submit action for login forms: [action:login]. Learn more about forms and input fields.
So, now that we have the design ready it’s time to bind it to the backend.
Binding
We are going to set up authentication connecting the design elements with the auth API requests that we imported before.
In Bravo Studio, open your app and enter the Data binding screen
On the left panel, select *Email element
Open the Input Destination panel on the right
Select Fitness Use Case → Auth · Login → email
Repeat with *Password. Select password
Now both variables are bound to the input elements.
We’ll proceed to set the token returned by the login request to the accessToken variable:
Select the default layer under the CTA frame on the left sidebar
Open the Form response action panel on the right
Select Set Access Token in the On Success dropdown
Type ${accessToken} in the input below it
You’re all set!
Bravo Vision
It’s time to test the login! Download Bravo Vision if you don’t have it already.
Open Bravo Vision and login with your Bravo credentials
Open Fitness Use Case app
Continue the intro page
In the login page, enter test@test.com as email and 12345678 as password
Click the LOGIN button and you should be logged in!
Binding the home page
The home page has three elements bound to API requests:
List of categories → Workout categories · List
Premium workout card → Workouts · List premium
List of workouts → Workouts · List
Let’s connect the visual elements to the data!
List of categories
Select Category slide on the left sidebar
Open the List Item property on the right
Select Fitness Use Case → Workouts categories · List → data
For *Name (IMAGE), select the same request and the image url param for the Image property
Repeat for *Title, select name for Text
Premium workout card
Select Premium workout card on the left sidebar
Open List Item property on the right
Select Fitness Use Case → Workouts · List premium → data
Bind *Background image (IMAGE) to video_thumbnail url for Image property
Repeat the binding to match the following:
*Workout short description to description
*Workout title to title
*Workout category to category name
List of workouts
Select Featured workout card on the left sidebar
Open List Item property on the right
Select Fitness Use Case → Workouts · List Featured → data
Repeat steps 4 and 5 from previous binding (Premium workout card)
Now go to Bravo Vision and refresh the homepage, you will see the elements returned by the database 🎉
💡 For this tutorial we are not covering the complete binding of the app. Feel free to explore the API requests and continue the process on the rest of the app screens. If you have any question feel free to ask it in the community.
You’ll have seen that we bound the premium content, although for the moment every user will see it, and that’s not what we want to happen. It’s time to configure In-app purchases!
Set up in-app purchase
To allow app users to purchase subscriptions, Bravo integrates RevenueCat, a platform that provide a subscription backend and wrapper around Apple's StoreKit and Google Play Billing. With RevenueCat you can make sure your users pay for accessing specific pages and content. Instead of having one set up for Android and another for iOS, Bravo connects to RevenueCat to have both platforms available in your app with just one connection.
Our app will be able to do the following:
Show Upgrade buttons to free users
Show a paywall to unlock paid content, showing the price from the AppStore of GooglePlay (in the user’s currency)
Show a list of premium workouts to paid users
App Store Connect configuration
💡 We are not covering the Android/Google Play set up. Check out the full in-app purchase documentation to learn more.
First off we need to create an app in App Store Connect and generate some codes:
Follow step 2 from our iOS publication guide (step 1 is optional) to generate the Certificates, Identifiers and Profiles.
Go to App Store Connect's My Apps page and click on the + button → New app.
In Platforms select iOS.
Set a Name and Primary Language.
Select the Bundle ID generated previously.
Set an SKU. For example a date: 20230312.
Select Full Access (it’s up to you though) and click Create.
Generate subscription
Your app has been created! Now let’s generate the subscription.
💡 To keep things simple, we are going to create just one subscription for this tutorial. If you want to create more, check out RevenueCat’s documentation.
In the sidebar, select Subscriptions under Features, then click the + button to create a Subscription Group.
Set Fitness premium as Reference Name.
After creating your Subscription Group, click the + symbol to add a new subscription to the group.
Set Full access monthly as Reference Name and ****fa_699_1m ****as Product ID.
Click Create.
💡 The product Id is a unique alphanumeric ID that is used for accessing your product in development and syncing with RevenueCat. After you use a Product ID for one product in App Store Connect, it can’t be used again across any of your apps, even if the product is deleted. It helps to be a little organized here from the beginning - we recommend using a consistent naming scheme across all of your product identifiers such as:
Set subscription duration
Once your product is created, you'll be able to set the duration of the auto-renewable subscription. Use the duration dropdown to choose 1 month, and click Save.
Set subscription price
Click Add Subscription Price in the Subscription Prices section.
Select your desired Country or Region and 6,99 as Price
Click Next. Apple will automatically set the price in all App Store regions based off the price and currency you selected. You'll have the option to edit these, but we recommend sticking with the defaults. When done, click Create.
Click Save.
Adding Localization
This is the name and description of the in-app purchase that the user will see.
In the App Store Information section, click the '+' icon next to Localization
Set Full access as Display Name
Set Get access to all videos and recipes as Description
The Subscription Display Name and Description will be visible to the user on the App Store and in their subscription management settings
Reviewer Information
Since we are just testing the set up in Testflight, we will skip this step. You’ll need it once you want to get your app published.
Subscription Groups
When you configure products for the first time and just set up a subscription group, you may see a warning in App Store Connect:
Before you can submit your in-app purchase for review, you must add at least one localization to your subscription group. Add localizations
Clicking on the Add localizations link will take you to the Subscription Group configuration. Similar to how you added localizations to the product, you'll need to add localizations to the Subscription Group as well.
Don't forget to click Save before exiting. ****
App-Specific Shared Secret
Generate an App-Specific Shared Secret following this guide.
In-App Purchase Key
Generate an In-App Purchase Key following this guide.
Congratulations! The Apple Store Connect set up is ready 🎉
RevenueCat configuration
Sign up for a new RevenueCat account here.
Navigate to the RevenueCat dashboard and add a new project from the dropdown in the top navigation menu called Projects.
Set Fitness App Use Case ****as Project Name.
From Project Settings → Apps in the left menu of the project dashboard, select App Store.
Set Fitness App Use Case as App Name.
Set your app’s bundle ID (the one in Apple Store Connect) as App Bundle ID.
Set the App-Specific Shared Secret and the In-App Purchase Key generated before.
Click Save.
Products, Entitlements and Offerings
💡 Learn more about how to configure products in RevenueCat.
In the Products and pricing menu of the left, click on Products.
Click on + New Product.
Set fa_699_1m as Identifier, **which the Product ID created before in Apple Store Connect.
Click Create Product.
Now go to Entitlements and click on + New.
In Identifier set full.
In Description set Full access to all videos and recipes.
Click Add.
Now click on the full row to open the entitlement just created.
Click on Attach
Click Choose a product and select fa_699_1m - Fitness App Use Case
Click Add.
Go to Offerings and click on + New.
Set default as Identifier. This is critical, Bravo supports only this identifier.
Set any description and click Add.
Now click on the default row to open the offering just created.
Create a + New package.
Select Custom Identifier and set it as full. Set Description as Full access to all videos and recipes.
Click on the table row just created corresponding with the full identifier.
Attach the product fa_699_1m.
RevenueCat set up is done! 🎉
Review the design tags for In-app Purchase
Let’s open the Figma file and take a look on how it’s been bravorized. For example, the Home page has a container that we want to show only to premium users. We use the [require:purchase:full] tag for that. Note that full is the offering identifier we set in RevenueCat.
Now check out the Paywall page. We are using several tags:
[page:paywall] for the main frame, to enable purchase actions.
[action:purchase:full] to trigger the purchase action for the full offering we created in RevenueCat.
[price:full] and {price} to show the price of the full offering in the user’s currency.
Feel free to explore the design to learn more. For example, Upgrade buttons have the tag [require:purchase:none] to be visible only to free users.
💡 If you want to learn all you can do with Bravo and RevenueCat’s integration, check out the In-app purchase documentation.
Enable RevenueCat in Bravo
The final step is to connect your Bravo app with RevenueCat.
Go to RevenueCat and copy the API Key.
In Bravo Studio, go to your app → Integrations.
In Payments, enable RevenueCat.
Paste the key in Apple (iOS) API Key.
Click Save.
And we are done! 🎉
TestFlight
In order to test In-app purchase on iOS, we need to use TestFlight. TestFlight is a platform developed by Apple that allows developers to distribute and test pre-release versions of their apps to a limited group of external testers before releasing them to the general public. It also allows to receive feedback from the group of testers.
Generate the IPA
In Bravo Studio, go to your app → Publish → iOS.
Fill the Bundle ID and certificates generated at the beginning of the tutorial.
Click on Get IPA.
In 15-20min you'll receive your IPA ready to be uploaded to Apple Store Connect.
💡 Remember that for each IPA you generate, the Build Number on the Bravo publication form needs to be higher than the previous one.
Upload the app via Transporter
Download the Transporter app here (available on the Mac App Store).
Open Transporter from your computer, enter your Apple credentials and upload the .ipa file
Click Deliver.
It may take some time for the package to appear in App Store Connect (can be minutes or up to an hour). You can check the status in the Activity section on the App Store Connect page.
If you get an alert with the message that some tools are missing and you need Xcode, you will need to install Xcode from the Mac App Store.
Add test users
In App Store Connect click Users and Access at the top.
Click the + button
Fill the New User form. You can add yourself here. Make sure you check the app(s) you want them to have access to.
Click Invite.
The user will need to open the email and click on Accept invitation.
Add testers to Internal Testing
Users added to this group can access the app without needing Apple to do any review process. It's the quickest way to test your app with a bunch of users (up to 10.000).
In App Store Connect, go to Apps and click the app you want to add testers to.
At the top tab menu, click Testflight,
In Internal testing, click the + button.
In the Create New Internal Group modal window, enter a name. For example, "Testers" and click Create.
A new section will appear named as the group created. click the + button right after the title.
In the Add Testers to the Group modal window, select the testers and click Add.
The users will need to click on the View in TestFlight button from the email they received to see the app in TestFlight. Then accept and install the app.