Coming Soon - build apps in both Native and React Native (and own the code)

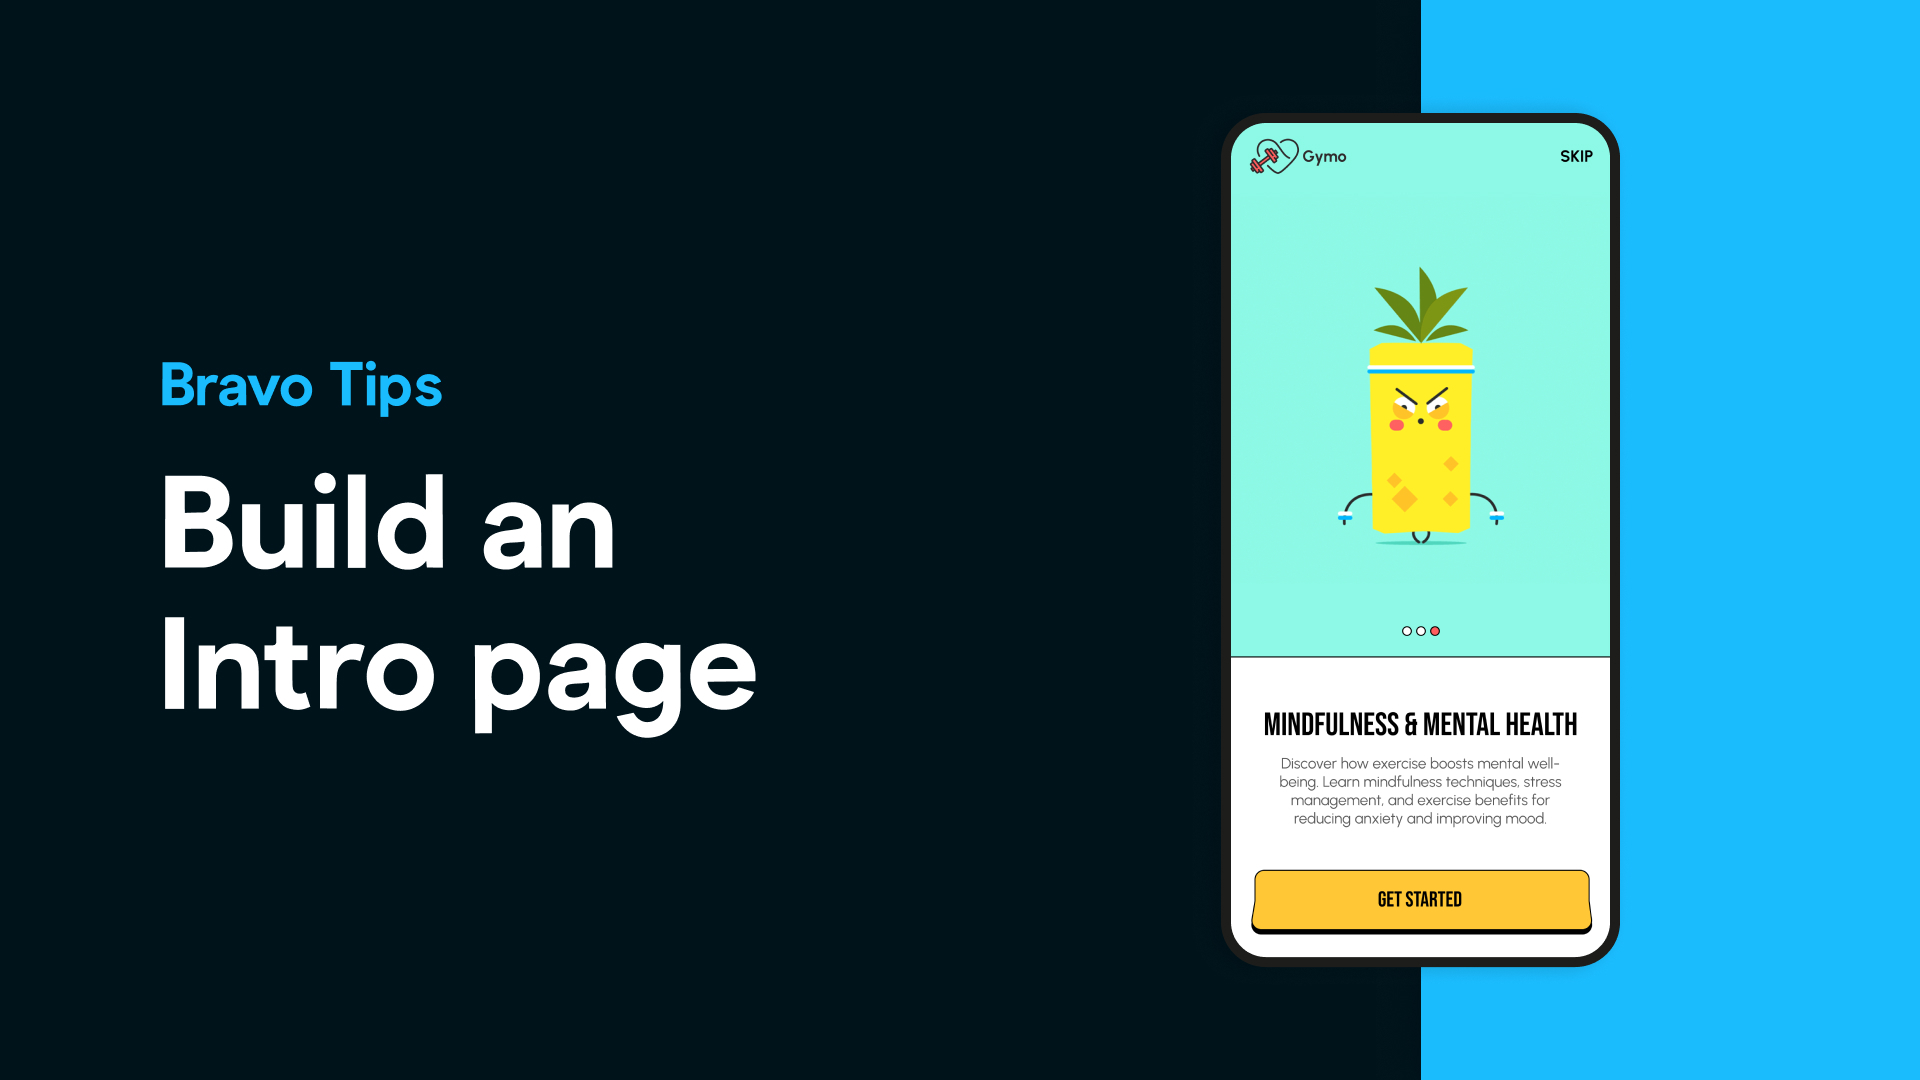
Creating a smooth first impression is one of the most important parts of launching a successful mobile app. That’s why many apps include intro pages (also called onboarding screens) — short walkthroughs that guide users through key features the first time they open the app.
With Bravo Studio, adding intro pages is simple, flexible, and completely no-code.
In this post, we’ll walk you through how to design, tag, and implement intro pages in your Bravo-powered mobile app — directly from Figma.
Intro pages are commonly used in mobile apps to help first-time users understand how the app works. They typically appear when the app is opened for the first time and include 1–3 screens that users can swipe through or skip.
With Bravo Studio, you have two simple options:
This gives you control over the user experience depending on how much guidance your app requires.
You can design your own intro pages from scratch in Figma or:
Once your screens are ready, it’s time to Bravorize them!
To make your intro screens work in Bravo Studio:
After tagging your screens:
Intro pages are a great way to increase retention, reduce confusion, and create a better onboarding experience for new users. With Bravo Studio and a simple set of Bravo Tags, you can build an elegant, fully functional onboarding flow — without writing a single line of code.
🔎 Learn more about Intro Pages in our docs.