Everybody has app ideas, but only a few people know how to build an app that ends up in the app stores. Also, there’s this big misconception that states that building an app is really hard and really expensive. But this barrier is getting lower ever since no-code popped into the tech world. Now, building an app is way easier. And we're not talking about simple, static, and unattractive apps that look like templates. We're talking about REAL apps.
In this guide, you’ll find everything you need to **build your own app. **
Why build an app?
It’s pretty obvious to say that today apps are a big thing. Apps for businesses can bring in an increase in user engagement, a better number of returning customers, an improvement in communication, and ultimately boost sales.
Let’s take a look at some numbers to see how important the app market is for tech today. You might already see hundreds of companies launching their apps. You might have even seen that many apps that used to be impossible to use are now improving. This is because the app world is growing and the **barriers to creating great apps are lowering. **
According to Statista, in 2023 it is estimated that the annual number of app downloads worldwide will amount to 299 billion, up from approximately 247 billion global app downloads in 2020. Plus, the total revenue in the app market is projected to reach US$437.80bn in 2022. That’s a lot. Total revenue is expected to show an annual growth rate of 6.58%, resulting in a projected market volume of US$565.00bn by 2026.
Many people dream of creating an app from scratch and becoming entrepreneurs. Others want to learn how to do it and launch their own agency. Whatever your motivation is, in this guide we’ll show you where to start and what skills you need to create a mobile app from scratch. We are going to go through the steps used by the best mobile teams and how you can follow them to create your own professional mobile application.
How hard is it to create an app?
This is a question we get asked a lot — and there’s no easy way to answer it. Of course, it depends. You can have really complex and really simple ones. What’s important is to** follow a process while creating them.** You need to go step by step and add functionalities that really make sense to the audience you are targeting. You also need to test often. The key is to create something that helps users, solves a problem they might have, or simply improves their lives in any way.
Building an app takes technical training. But no-code makes it easy for people who don’t have a tech background to get around app creation and be able to build and launch great native apps.
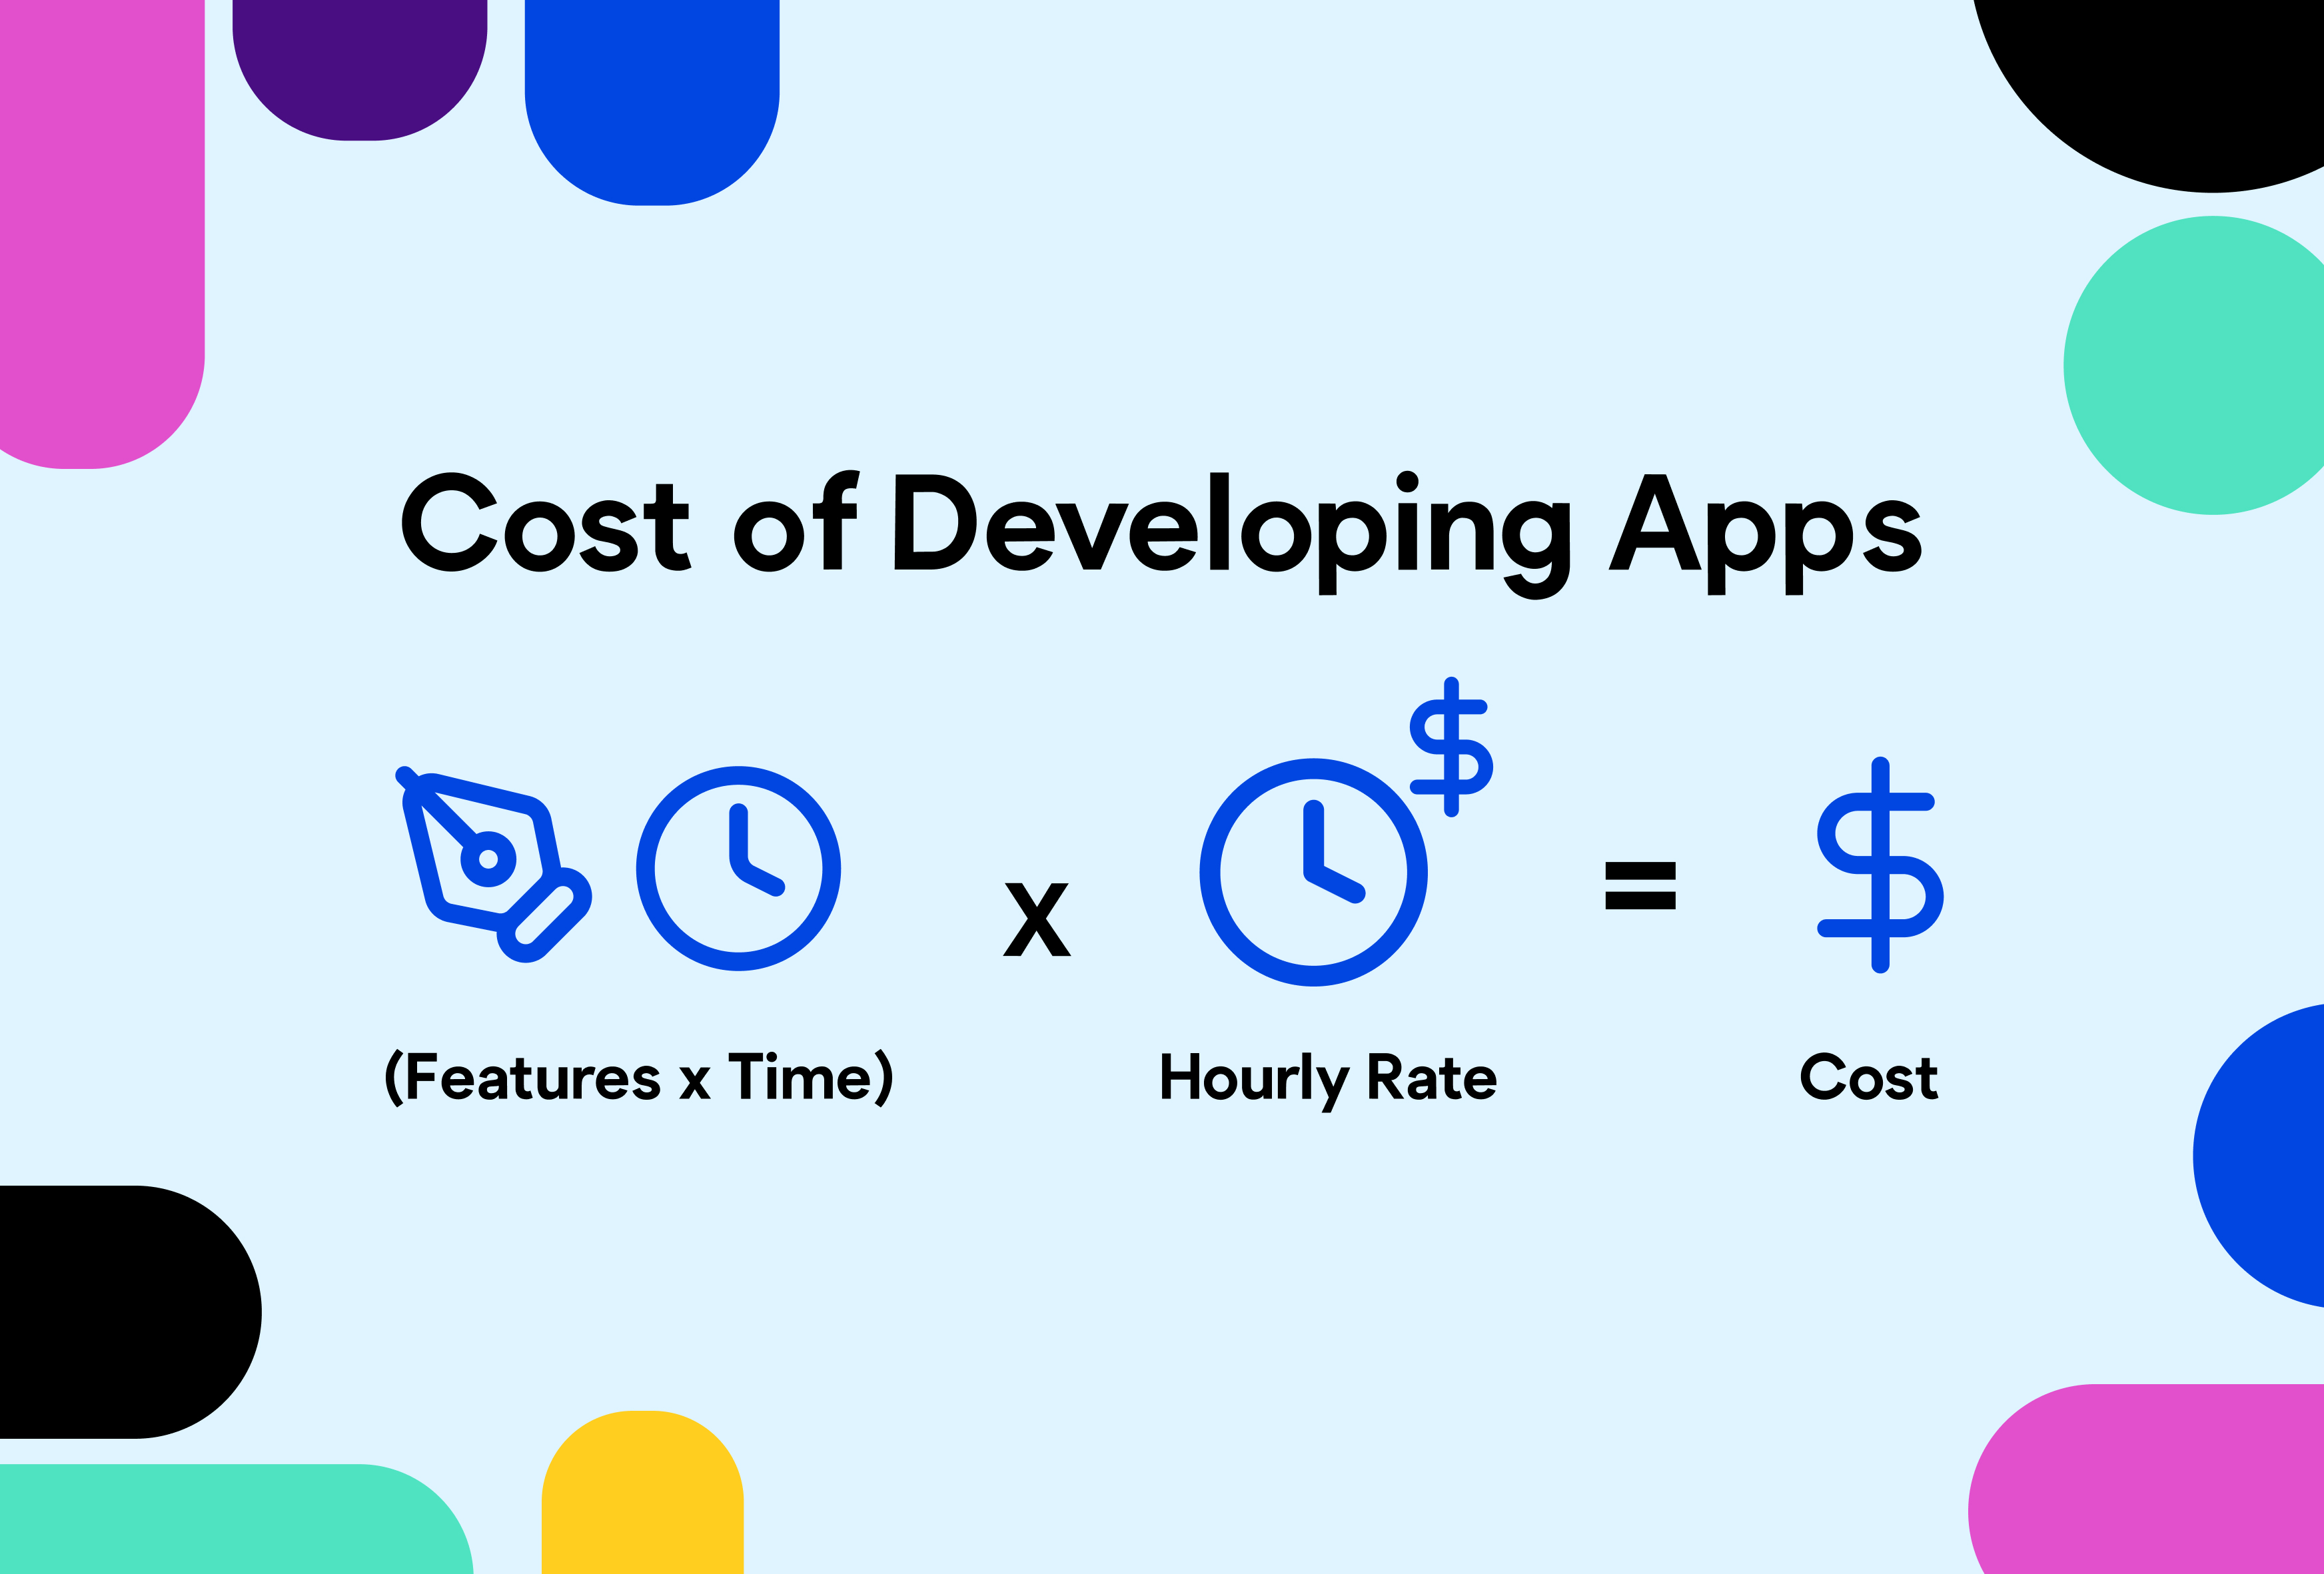
How much does it cost to create an app
The average cost of developing an app lies between $50,000-$200,000. This is if you stick to traditional Android and iOS development. You just need to do the math -traditional development takes a lot of time. On the other hand, if you choose **no-code tools, **you're guaranteed to save both time and money. No-code tools like Bravo Studio have fixed-price plans that aren't dependent on the number of features you use. You pay a monthly or yearly subscription and are ready to go. Plus, you get access to support and a great community!
Also, you might want to consider maintenance. If you abandon the app after you launch it and don’t monitor it, you will end up with an outdated version that’s filled with errors. Think about updates, bug fixing, and new features. When this doesn’t happen users lose interest and they just move to another competitor app. The average cost of app maintenance is around 15% of the entire project app development budget.
How to make an app step by step
Here is a guide to get you started. Whether you're building an app to complement your website, reach a new audience for your business, or just have a great idea, we are here to walk you through the process, from research to maintenance.
Define your app idea and start researching
The first step to building your own app is to figure out why you want to create an app. Every app has a purpose of serving. This is not just thinking “I’ll build a Tinder with a bit of Airbnb and a splash of Facebook”. You need to really define your product. This means thinking about the problem you are going to solve, the solution you are going to offer, the audience you are going to talk to and the competitors you are going to face.
The best way to answer these questions is to ask yourself why you want to develop an app. Is it to meet user needs? Do you want to solve a problem that a group of people has? Do you want to reach more customers? Or is it just a marketing action?
You might feel overwhelmed but this first step is key. It’s the foundation for the rest of the project. If you get this right, the rest will be easier and you’ll end up building the right product. Identify the **unique value proposition of your app. **
**Go through a Design Sprint and organize your ideas **
A Design Sprint is the best way to define your app idea. It’s a step-by-step workshop to test ideas in just 4 days.
The research period is always a bit chaotic, and since you don't want to take any wrong turns, we strongly advise you to go through a Design Sprint.
This methodology is used by thousands of companies (i.e Slack, Google, and Twitter) and startups around the globe. Design Sprints are the fastest way to find out if an app is worth developing, if a feature is worth the effort, or if your value proposition is really valid. Plus, they encourage original thinking through experimentation, collaboration, and iteration.
You start off the week thinking about the problem you want to solve and end the week with a prototype and feedback from real users. Essentially, it’s a 4-day validation process. On day 1, you define the problem. On day 2, you decide what solution your app is going to give. On day 3, you build a high-fidelity prototype. On day 4, you test it with real users.
We’ve created a full free Design Sprint ebook that will walk you through this in more detail.
Understand your market
While building an app you need to make sure that there’s a market need for your app. Most app ideas sound good in theory, but you need to check out how competitors are moving and how your users are behaving.
You need to become an expert in your field and the right moment to do so is before even creating the first wireframes. Research your competition, look for stats and insights from your audience and from the type of app you are looking to build, and look into the problems your users are facing and how important each of them are. You might want to conduct focus groups or user interviews.
This is not supposed to take months - you need to book two research weeks. Follow fellow entrepreneurs on social media, look at how they are thinking, and what they are talking about, read competitors’ app reviews in the stores, look for competitors' names on Twitter and see if they are getting good or bad tweets. Just take some time to dive into the market.
Define your app features
After the research phase, you’ll know what your app’s core functionality is. This is tied to the app’s value proposition and all the features should be focused on this.
Just keep in mind that adding irrelevant features won’t do any good. Ultimately, this affects the app’s performance and increases your costs. You don’t need to add more and more features to your app just to make it look more complex and robust. It’s important to launch your app and go to market fast and then see how everything goes and learn from users. Everything moves fast and the features that might seem like a nice extra today may not be the ones that your users find interesting in a couple of months once your app is released. Launch often, iterate and work on new features to keep your users interested.
Examples of popular app features include:
Push notifications
Geolocation
User directory
Surveys and questionnaires
Calendar integrations
Maps
Payments
Multimedia content
Booking processes
Calendar integrations
eCommerce carts
Menu ordering system
Reviews
Create your app’s design
You’ve defined your app idea, planned its functionalities and features, and done research to get insights on creating an app. Now, it’s time to begin designing.
Create wireframes
You are going to start with UX (aka user experience). This is basically creating plain wireframes that show the different screens that your app is going to have and how they are going to connect. You need to add buttons where you need buttons, menus where you need menus, and images where you need images.
Wireframes are the skeleton of your app. They don’t need to be too formal and they should just be grey or black and white. There’s no visual design needed yet. What’s important here is to understand how the final user flow is going to be.
You can create wireframes drawing on a piece of paper or directly using a design tool such as Figma or Adobe XD.

**Think about the visual design **
Once you have your user flow and know how the screens in your app are going to be, how many blocks of text or images or buttons they’ll have and how content is going to be structured, you can move to the graphic design stage. This is when you turn your app into something nice.
The possibilities in this step are endless. You can hire an illustrator and design tailor made icons and images or you can stick with stock images. It's up to you. Just take into account how this is going to affect the project cost. Here’s what’s essential
Choose a color scheme
You need to make sure the app’s not a mess. So, even though you might want to stick with a minimal and simple design (which is totally fine) you need to create a coherent visual design. In order to do this, you need to choose a color palette. You can’t jump from one color to another so this is the time to decide which is the primary color and which are the secondary colors. Think about color contrast and accessibility. People should be able to read the text and understand what’s happening on every screen. Define your color scheme and stick to it during the whole design.
**Choose a font **
You need to have a primary font and a secondary font and use them throughout the design in order to give your app visual consistency. Just as with the color scheme, you need to think about readability. You might also create some rules regarding sizes just to keep everything under control. Define titles, subtitles, and text font sizes in advance, and getting your wireframes looking nice will be simpler.
Start building your app
Hurray! Your designs are ready. Now you need to make a decision regarding development. Choosing the right method is based on factors like your **budget, technical skill level, app type, and time to market. **Let’s explore the main ways of building an app.
Use no-code platforms
Normally, an entrepreneur who doesn’t code needs to spend money, and maybe even raise it, to hire developers. Nowadays, there are thousands of people bolting together various online services to create webs, apps, MVPs, and prototypes without coding.
The no-code movement rests upon the fundamental belief that technology should enable and facilitate the creation, not be a barrier to entry. Today, there are plenty of no-code platforms that let you build your own app. Each of them has its own pros and cons, but almost any app feature can be created using no code.
The main advantage? **No-code platforms have fixed prices and let you work faster. **
Bravo Studio is a **no-code app builder **that doesn’t require any coding skills or tech knowledge. Plus, it doesn’t just work with templates so you have 100% design flexibility to create any app you want. You can learn more about Bravo Studio features here. In addition, with Bravo Studio you don't have to worry about choosing iOS vs Android since Bravo Studio will provide you both app bundles.
Or code the app by yourself!
The other option is going with traditional development. This normally takes more time and requires technical skills. Also, when developing for Android and iPhone devices you’ll need to create two separate apps: one for the Play Store and one for the App Store. This may mean having two separate development teams since you’ll manage two codebases.
Test your app’s performance
Once your app’s first version is finished you need to test it before deployment. You need to use your app on different mobile devices, so make sure the app works online, offline, and so on. Devices with different software versions or screen sizes might have issues that aren’t found elsewhere. So don’t just test the app once on your phone and assume that it’s working correctly.
Send it to your friends and family
If you don’t have enough budget to hire a QA specialist, you might want to share your app with friends and family and ask them to try it and report any errors to you. They can discover bugs and glitches before you actually launch your app for the general audience.
The app doesn’t need to be perfect when you launch it so don’t waste months carrying out tests. Of course, you’ll just want to fix as many of the bugs and errors as you can, but everything else can wait.
Publish your app
It’s time to get your app live and into the hands of actual users. First, submit your app to the respective app store. Whether it’s Play Store or App Store, make sure you strictly follow the guidelines of both app stores. Here’s a video with everything you need to prepare in order for your app to be published and here’s a checklist with every to-do before publishing your app.
Prepare visual assets
During your publication process you will be asked to upload screenshots. We put together a Figma file with templates for all the publication visual assets here. The Bravo Publication assets kit covers the basic Apple and Android assets you need for the publication process of a mobile app: store screenshots, app icon, splash screen, and Android store banner are included. You’ll need:
App icon (goes into the file you upload to Bravo Studio)
Splash screen (goes into the file you upload to Bravo Studio)
Play Store banner (1024x512px)
Android screenshots 1080x1920px (2:1 aspect ratio)
iOS screenshots: iPhone X (1242x2688px)
iOS screenshots: iPhone 8 (1242x2208px)
Optional: a product video
Publish your app on Google Play Store
To publish your app on Google Play Store you’ll need to create a Google Play Console account. After paying the one-time fee of $25 you will get instant access to the developer console. Don’t forget to check the Google Play guidelines and make sure everything is in the right place.
Publish your app on the App Store
To publish your app on the App Store you’ll need to enroll in the Apple Developer Program. The review process can take up to one month so make sure to start as early as possible. The cost will be $99 every year. Once again, don’t forget to https://developer.apple.com/app-store/review/guidelines/ and make sure everything is in the right place.
**Think about App Store Optimization **
This is basically writing the right titles and descriptions. Don’t forget what your app idea is, choose the correct keywords and make sure to use them while writing the listings.
Write a unique title
Your app’s title should be unique. Avoid common terms but make it memorable and keep it short. Also, try not to use subtle misspellings of general terms as users may end up correcting misspelled search terms.
Your app’s description
Focus on your users and their needs. Explain the app's purpose and make sure to have the most valuable text at the top. The tone should be consistent with the one you’ve maintained in your app’s copy. You can use emojis and html tags to make your text more interesting.
**Don’t forget the privacy policy **
You may want to work with a legal professional that is specialized in this area to be 100% safe. You’ll need a link to a privacy policy for your app to be available in any of the store’s listing pages. This privacy policy may vary from the one you have on your website if you have one. Also, the document can be hosted anywhere but it needs to be publicly available. You may or may not add the document to your app.
Define your marketing strategy
It is a common myth that good products don’t need marketing, but that’s not true. Marketing is crucial for your app. Here are some strategies to help you gain your first users.
Your app’s maintenance
Once your app is published and the user count goes up, you’ll start getting feedback. This is really valuable and you need to reach out to your users and learn from them. But, of course, once you get their reviews, you need to work on your app to get new features out, fix bugs and improve the user experience.
Feature requests
You won’t release an app with all the features it will have in its whole history. Users will express issues and further requirements and you will need to prioritize them and decide on what to tackle first. You can create a special website or forum for users to be able to speak out and demand new features.
Bug fixes
After you publish your app it will be used by many people. You will encounter new issues. Don’t panic, this is totally fine. You just need to be there to fix them and release updates.
Pay attention to software updates
Whenever Apple or Google launch a new version of their softwares, you’ll need to update your app. With Bravo Studio you dont have to worry about it since Bravo Studio will keep your app always updated automatically.
Frequent questions when making an app
Can I create an app with no code?
Of course! You can create an app without coding. There are many platforms that allow you to do that. If you use Bravo Studio you can just design your wireframes in Adobe XD or Figma and then transform them into real mobile apps.
Can I make a free app?
Of course! That’s up to you. Just remember there are various strategies for monetizing your app without charging your users for the download. Here are a few of them:
Advertisements
Subscriptions
Paid-features
In-app purchases
**How long does it take to build an app? **
The time required to develop an app can vary in a range of anything from 2-3 weeks to 9+ months. The number of features, their complexity, and the uniqueness of the app design and integrations are some of the factors you might want to consider. Also, it depends on how you are developing the app. No-code tools usually make processes a lot faster.
**Can I build an app for free? **
Bravo Studio makes it possible to build an app for free. You can learn more about our pricing plans here. Our online no-code app development platform offers you a free forever plan and one paid plan with special support and custom branding. You can build native apps for Android and iOS for free.
What is the most popular type of app?
Dating apps and social media apps are currently in high demand. Also, on-demand apps that connect buyers and sellers around services are growing fast. The most popular industries nowadays are entertainment, logistics, food, retail, beauty, and transportation.